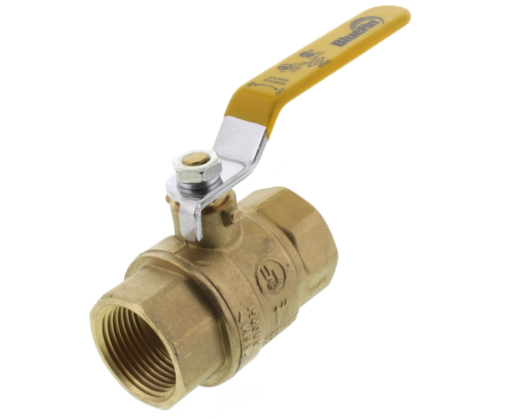
Yes, you can replace shut-off valves without being a professional plumber, but it's important to approach the task with caution and some level of DIY experience. Replacing shut-off valves involves working with water supply lines and plumbing connections, so you should feel comfortable with basic tools and have a good understanding of plumbing concepts. Here's a general guide on how to replace shut-off valves:
Materials and Tools You'll Need:
- New shut-off valve(s)
- Pipe wrench or adjustable wrench
- Pliers
- Teflon tape or thread sealant
- Towels or rags
- Bucket or container
Steps:
Turn Off Water: Before you start, make sure to turn off the main water supply to your home. This is typically located near your water meter. Open a few faucets to drain any remaining water from the pipes.
Prepare the Area: Place towels or rags around the valve area to catch any drips or spills. Have a bucket or container ready in case water continues to drip.
Remove the Old Valve:
- Use a pipe wrench or adjustable wrench to carefully loosen and remove the nuts connecting the old valve to the water supply line. Hold the valve steady with one wrench while you loosen the nuts with another.
- Gently disconnect the valve from both the supply line and the pipe that it's connected to.
Clean and Prep:
- Clean the threads of the pipe and the supply line to ensure a clean and secure connection.
- Apply Teflon tape or thread sealant to the threads of the pipe to create a watertight seal when connecting the new valve.
Install the New Valve:
- Screw the new shut-off valve onto the threaded pipe by hand. Use pliers or a wrench to snugly tighten it, making sure not to overtighten and risk damaging the threads.
Connect the Supply Line:
- Attach the supply line to the new shut-off valve and tighten the nut securely using a wrench.
Turn On Water:
- Slowly turn on the main water supply and check for any leaks around the new shut-off valve. If you notice any leaks, turn off the water and make sure the connections are properly tightened.
Check for Leaks:
- Once the water is back on, carefully inspect the area for any leaks. Wipe down the connections to ensure they are dry and secure.
Test the Valve:
- Turn the new shut-off valve on and off a few times to ensure it operates smoothly and shuts off completely.
Remember that while replacing shut-off valves is a manageable DIY task for many people, there's always a possibility of complications, especially if you encounter unexpected issues or challenges. If you're unsure about any step, it's a good idea to consult with a professional plumber to ensure the job is done correctly and to avoid potential water damage or plumbing mishaps.

